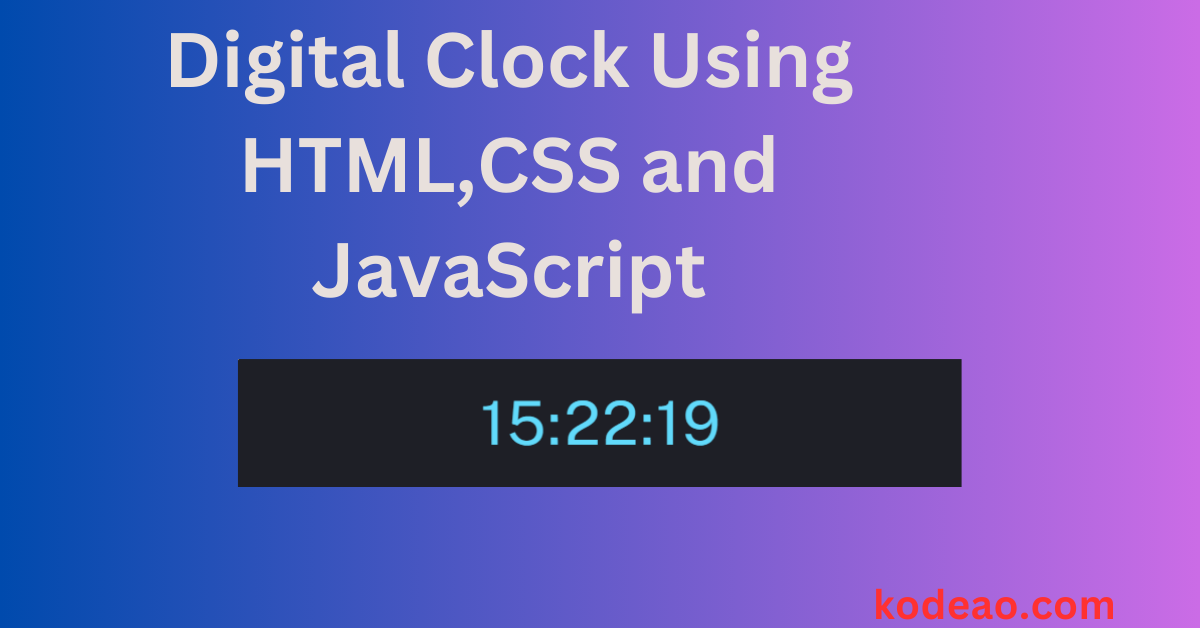
Creating a digital clock is a great way to practice your web development skills. In this blog post, we’ll walk through the process of building a simple yet beautiful digital clock using HTML, CSS, and JavaScript. By the end of this tutorial, you’ll have a functional clock that updates in real time!
What You’ll Learn
- Basic structure of an HTML document
- Styling with CSS to create an attractive design
- Using JavaScript to display and update the current time
Step 1: Setting Up the HTML Structure
First, create a new HTML file (e.g., index.html). This file will contain the basic structure of our digital clock. Here’s the HTML code:
<!DOCTYPE html>
<html lang="en">
<head>
    <meta charset="UTF-8">
    <meta name="viewport" content="width=device-width, initial-scale=1.0">
    <title>Digital Clock</title>
    <link rel="stylesheet" href="style.css">
</head>
<body>
    <div class="clock">
        <div id="time"></div>
    </div>
    <script src="script.js"></script>
</body>
</html>
Explanation:
- DOCTYPE and HTML Tags: The
<!DOCTYPE html>declaration defines this document as an HTML5 document. The<html>tag wraps all the content. - Head Section: Contains meta information, title, and links to the CSS file.
- Body Section: Contains a
divelement with the classclockand an innerdivwith the IDtime, where the current time will be displayed.
Step 2: Adding CSS for Styling
Next, create a CSS file (e.g., style.css) to style our clock. Here’s the CSS code:
/* style.css */
body {
    display: flex;
    justify-content: center;
    align-items: center;
    height: 100vh;
    background: #282c34;
    margin: 0;
    font-family: 'Roboto', sans-serif;
}

.clock {
    background: #1e1f26;
    padding: 20px 40px;
    border-radius: 15px;
    box-shadow: 0 10px 20px rgba(0, 0, 0, 0.2);
}

#time {
    color: #61dafb;
    font-size: 60px;
    text-align: center;
    letter-spacing: 2px;
}
Explanation:
- Body Styles: Center the clock on the page using flexbox and set a dark background color.
- Clock Styles: Create a container with a dark background, padding, rounded corners, and a shadow effect for a modern look.
- Time Styles: Set the font color, size, alignment, and letter spacing for the time display.
Step 3: Adding JavaScript Functionality
Finally, create a JavaScript file (e.g., script.js) to fetch the current time and update it every second. Here’s the JavaScript code:
// script.js
function updateTime() {
    const timeElement = document.getElementById('time');
    const now = new Date();
    let hours = now.getHours();
    let minutes = now.getMinutes();
    let seconds = now.getSeconds();

    // Add leading zero to single-digit minutes and seconds
    hours = hours < 10 ? '0' + hours : hours;
    minutes = minutes < 10 ? '0' + minutes : minutes;
    seconds = seconds < 10 ? '0' + seconds : seconds;

    timeElement.textContent = `${hours}:${minutes}:${seconds}`;
}

// Update the time every second
setInterval(updateTime, 1000);

// Initialize the clock
updateTime();
Explanation:
- updateTime Function: This function gets the current time, formats it to always show two digits (e.g.,
09:05:03), and updates thetimeelement’s text content. - setInterval: Calls the
updateTimefunction every 1000 milliseconds (1 second) to keep the clock updated. - Initialize the Clock: Calls
updateTimeonce to display the time immediately when the page loads.
Open your index.html file in a web browser, and you should see your beautiful digital clock in action!
Output:
Conclusion
Congratulations! You've created a simple and elegant digital clock using HTML, CSS, and JavaScript. This project not only enhances your web development skills but also gives you a beautiful clock that you can customize further. Feel free to experiment with different styles, fonts, and animations to make it uniquely yours.
Happy coding!

