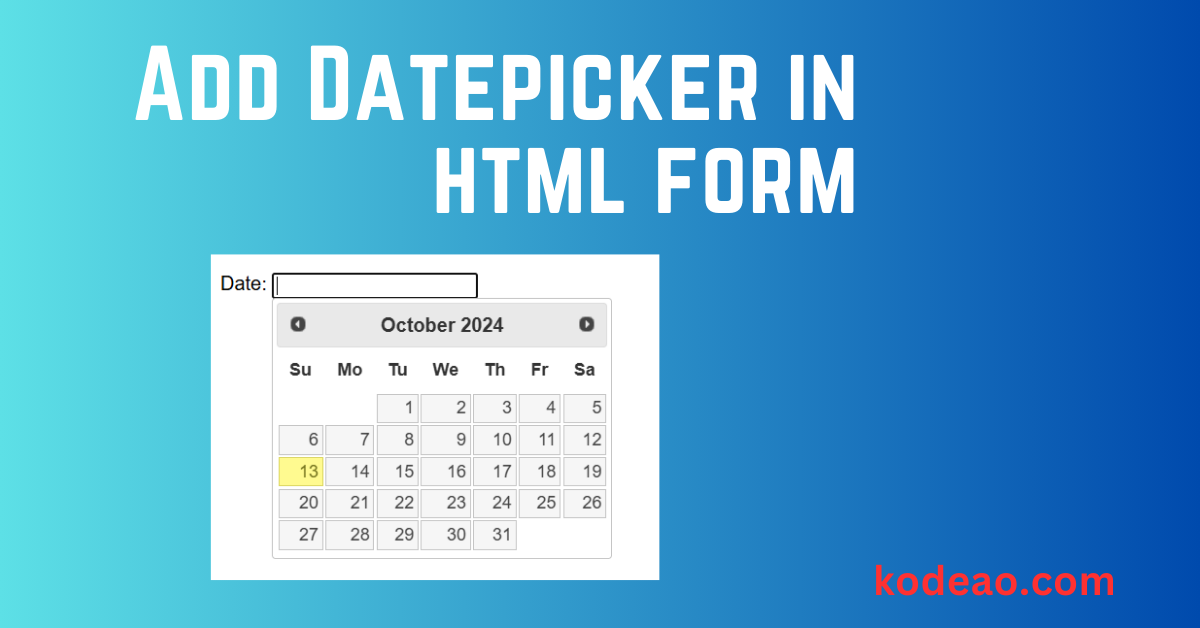
Adding a datepicker to a form enhances user experience by allowing users to select dates easily without needing to manually input them. It minimizes errors and ensures a standardized date format. In this article, we’ll explore various ways to add a datepicker to forms, covering options for HTML5, JavaScript libraries, jQuery UI, and Bootstrap.
Why Use a Datepicker?
Datepickers make forms more user-friendly by allowing users to:
- Pick dates with just a few clicks.
- Avoid manual entry mistakes.
- Follow a consistent date format (e.g.,
YYYY-MM-DD). - Choose dates from a calendar UI, making it easy to visualize dates like weekends and holidays.
Using the HTML5 Date Input
The simplest way to add a datepicker is by using the HTML5 <input> element with the type="date" attribute. This option is built into modern browsers, and it requires no external libraries or scripts.
<form>
  <label for="birthday">Select your birthday:</label>
  <input type="date" id="birthday" name="birthday">
  <input type="submit" value="Submit">
</form>Pros:
- No need for external scripts or libraries.
- Lightweight and easy to implement.
- Automatically formatted according to the user’s locale.
Cons:
- The appearance and functionality can vary between browsers.
- Limited styling options.
- Older browsers like Internet Explorer do not support it.
Adding a JavaScript-based Datepicker
To ensure consistency across all browsers and provide more customization, JavaScript-based datepickers are a better option. Some popular libraries include:
- Flatpickr
- Pikaday
- Litepicker
Here’s an example using Flatpickr:
- Include the Flatpickr library:
<link rel="stylesheet" href="https://cdn.jsdelivr.net/npm/flatpickr/dist/flatpickr.min.css">
<script src="https://cdn.jsdelivr.net/npm/flatpickr"></script>2.Add the input element and initialize Flatpickr:
<form>
  <label for="date">Select a date:</label>
  <input type="text" id="date" name="date">
</form>

<script>
  flatpickr("#date", {
    dateFormat: "Y-m-d",
    minDate: "today",
    maxDate: new Date().fp_incr(14) // 14 days from today
  });
</script>Pros:
- Works across all browsers.
- Offers rich customization like disabling specific dates or adding date ranges.
- Easy to style using CSS.
Cons:
- Requires including an external library.
- Slightly heavier than the native HTML5 option.
Using jQuery UI Datepicker
For those already using jQuery, the jQuery UI Datepicker can be a powerful choice. It offers many customization options, including date format, language, and date restrictions.
- Include the jQuery UI library:
<link rel="stylesheet" href="https://code.jquery.com/ui/1.12.1/themes/base/jquery-ui.css">
<script src="https://code.jquery.com/jquery-3.6.0.min.js"></script>
<script src="https://code.jquery.com/ui/1.12.1/jquery-ui.min.js"></script>
2. Add the input element and initialize the Datepicker:
<form>
  <label for="event-date">Event Date:</label>
  <input type="text" id="event-date" name="event-date">
</form>

<script>
  $(function() {
    $("#event-date").datepicker({
      dateFormat: "yy-mm-dd",
      minDate: 0, // No past dates
      maxDate: "+1M", // Up to 1 month ahead
      changeMonth: true,
      changeYear: true
    });
  });
</script>
Pros:
- Extensive configuration options like customizing month/year dropdowns.
- Works well with other jQuery UI components.
- Simple setup if already using jQuery.
Cons:
- Heavier compared to other options like Flatpickr.
- Requires including jQuery and jQuery UI scripts.
Adding a Datepicker with Bootstrap
For those using Bootstrap, there are Bootstrap-compatible datepickers like Tempus Dominus or Bootstrap Datepicker.
- Include the Bootstrap Datepicker library:
<link rel="stylesheet" href="https://cdn.jsdelivr.net/npm/bootstrap@5.3.0/dist/css/bootstrap.min.css">
<link rel="stylesheet" href="https://cdn.jsdelivr.net/npm/bootstrap-datepicker/dist/css/bootstrap-datepicker.min.css">
<script src="https://cdn.jsdelivr.net/npm/bootstrap@5.3.0/dist/js/bootstrap.bundle.min.js"></script>
<script src="https://cdn.jsdelivr.net/npm/bootstrap-datepicker/dist/js/bootstrap-datepicker.min.js"></script>
2. Add the input element and initialize the Datepicker:
<form>
  <label for="start-date">Start Date:</label>
  <input type="text" class="form-control" id="start-date" name="start-date">
</form>

<script>
  $(document).ready(function() {
    $('#start-date').datepicker({
      format: 'yyyy-mm-dd',
      startDate: new Date(),
      autoclose: true
    });
  });
</script>
Pros:
- Seamlessly integrates with Bootstrap styling.
- Rich features like date ranges and different formats.
- Autoclose feature for better user experience.
Cons:
- Requires Bootstrap as a dependency.
- Heavier than pure JavaScript datepicker options.
Customizing Datepicker Options
Datepickers often come with a variety of options to tailor their behavior:
- Date Format: Choose how dates should be displayed, e.g.,
MM/DD/YYYY,YYYY-MM-DD. - Min/Max Dates: Restrict the selectable date range.
- Default Date: Prepopulate the date field with a specific date.
- Disable Weekends or Specific Dates: Useful for scenarios like business appointment booking.
- Localization: Change the language of month and day names.
- Year & Month Dropdowns: Allow users to easily switch between months or years.
Conclusion
Adding a datepicker to your forms makes date selection user-friendly and error-free. Depending on your needs, you can opt for the simple HTML5 solution or use JavaScript libraries like Flatpickr, jQuery UI, or Bootstrap Datepicker for more customization. Evaluate your requirements and pick the option that best suits your project for an enhanced user experience. Happy coding!
By implementing the above methods, you can ensure that your form’s date fields are both functional and visually appealing.

